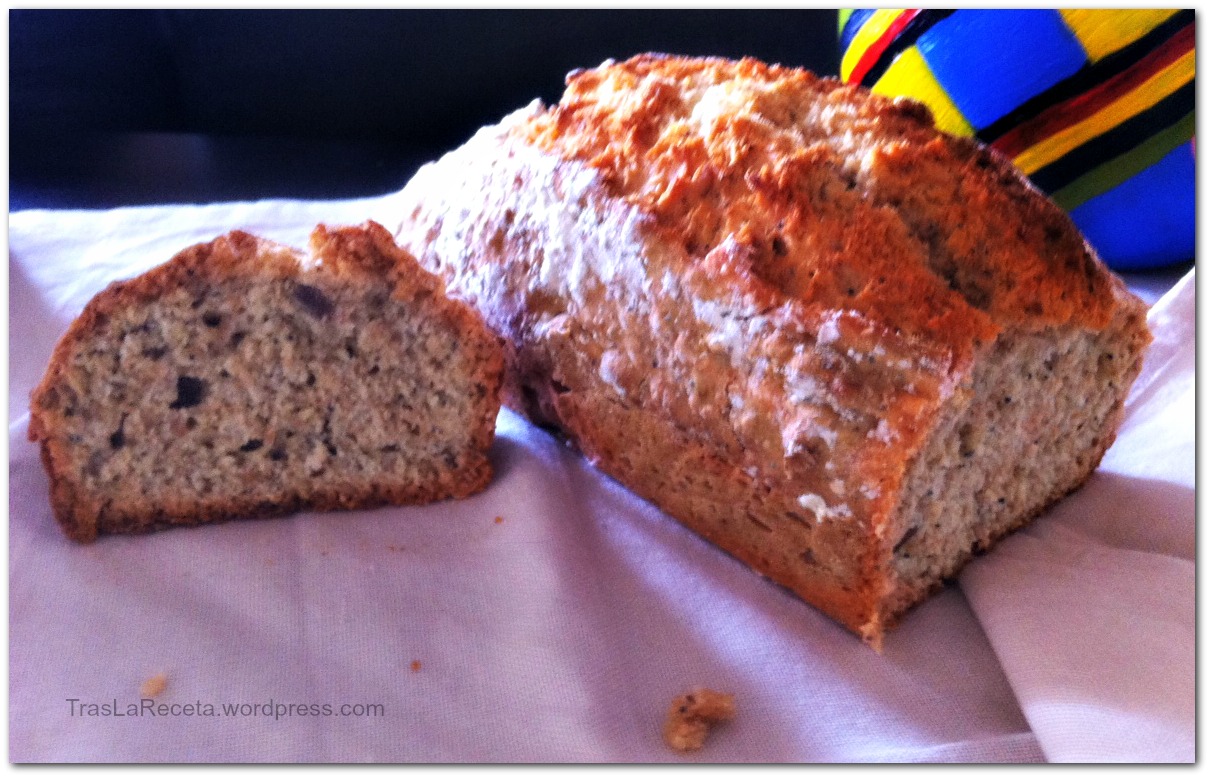
Pumpkin bread o Pan dulce de calabaza
A tono con el otoño y para seguir explotando la versatilidad de una rica calabaza, hoy les traigo una receta típica americana. Este pumpkin bread o pan dulce de calabaza me lo descubrió una amiga en un grupo de cocina en Facebook en el que nos lo pasamos deliciosamente, nunca mejor dicho. La receta es de Once Upon a Chef (Érase una vez un chef) con alguna variación.
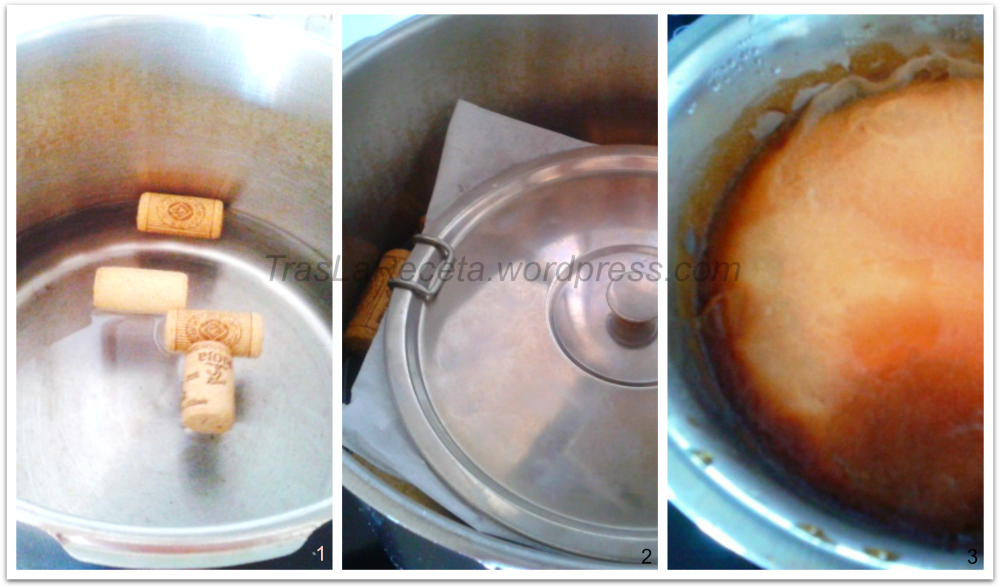
Por ejemplo, la autora utiliza una pulpa de calabaza en conserva (100% calabaza), pero en los supermercados que tengo en los alrededores de donde vivo, al sur de Madrid, no la encontré y me decidí a preparar una masa o pulpa en casa, con ayuda del horno. Recorriendo un mercadillo de domingo me tropecé con un muy bonito ejemplar y me puse enseguida manos a la obra al llegar a casa.
Otros dos añadidos de esta versión del pumpkin bread que comparto hoy son las pipas (semillas) de calabaza tostadas y un toque extra de vainilla. Esta receta es una gozada desde el momento en que se mezclan los ingredientes. Cuando entra en el horno ya es todo una fiesta. Las especias que lleva llenarán de aromas tu cocina y ese olor te acompañará hasta el momento de probar una porción. Para mi, algo así como la gloria.
Ingredientes del Pumpkin bread o Pan dulce de calabaza
- 250 gr de harina para todo uso
- 1/2 cucharadita de sal
- 1 cucharadita de bicarbonato de sodio
- 1/2 cucharadita de polvo de hornear
- 1 cucharadita de clavo de olor molido
- 1 cucharadita de canela molida
- 1 cucharadita de nuez moscada molida
- 1 cucharadita de extracto o esencia de vainilla
- 1 puñado de pipas (semillas) de calabaza
- 170 gr de mantequilla sin sal, reblandecida
- 350 gr de azúcar
- 2 huevos grandes
- 425 gr pulpa de calabaza asada (1/2 calabaza mediana o una pequeña)
Cómo preparar Pumpkin bread o Pan dulce de calabaza

Pumpkin bread o Pan de calabaza
- El día antes corta en dos mitades la calabaza, límpiala, pero deja la piel (cáscara). En una bandeja de horno coloca las dos mitades con la cáscara hacia arriba. Hornea durante 30 minutos o hasta que esté bien tierna. Sácala, déjala refrescar y con una cuchara podrás extraer con facilidad toda la masa. Ponla en colador de malla y aprieta para que suelte toda el agua, debe quedar solo la pulpa. Guarda refrigerada hasta el día siguiente o úsala una vez se enfríe completamente a temperatura ambiente.
- Engrasa con mantequilla un molde rectangular (14x7x29cm) o dos más pequeños(20×10) y espolvorea con un poco de harina. También pon a calentar el horno a 170 grados Celsio.
- En un recipiente mezcla los siguientes ingredientes secos: harina, polvo de hornear, bicarbonato, sal y especias molidas (clavo, canela y nuez moscada) .
- En otro recipiente bien amplio mezcla la mantequilla a punto de pomada o reblandecida con la cucharadita de vainilla y el azúcar. Yo he utilizado unas varillas eléctricas.
- Una vez bien mezclados agrega uno a uno los huevos. No pongas el segundo hasta que el primera esté bien integrado.
- A continuación, si utilizaste unas varillas eléctricas, baja a la menor velocidad para añadir la mezcla de harina con los ingredientes que teníamos, poco a poco. Al final, el resultado va a ser una mezcla bien densa. Añade un puñado de semillas de calabaza y vuelve a mezclar y a continuación vierte en el molde previamente engrasado.
- Por último, corona con otro puñado de pipas de calabaza y lleva al horno en la parte media y deja por unos 80-90 minutos o hasta que introduzcas un palillo y salga limpio. Si pones la mezcla en dos moldes el tiempo se reducirá será entre 60-70 minutos o hasta que compruebes que sale limpio el palillo.
Listo, disfruta con un té o la bebida que prefieras, para una merienda o para el desayuno. En casa, junto al Banana bread, ya es parte de nuestros imprescindibles. ¡Buen provecho!